How to Make an Aromatherapy Inhaler

Learn to Make an Aromatherapy Inhaler
Making an aromatherapy inhaler is a fun and simple way to enjoy aromatherapy anytime, anywhere! Inhalers are easy to create (even if you’ve never done it before)
Let’s go over some common reasons to make an aromatherapy inhaler and how to do it, step by step.
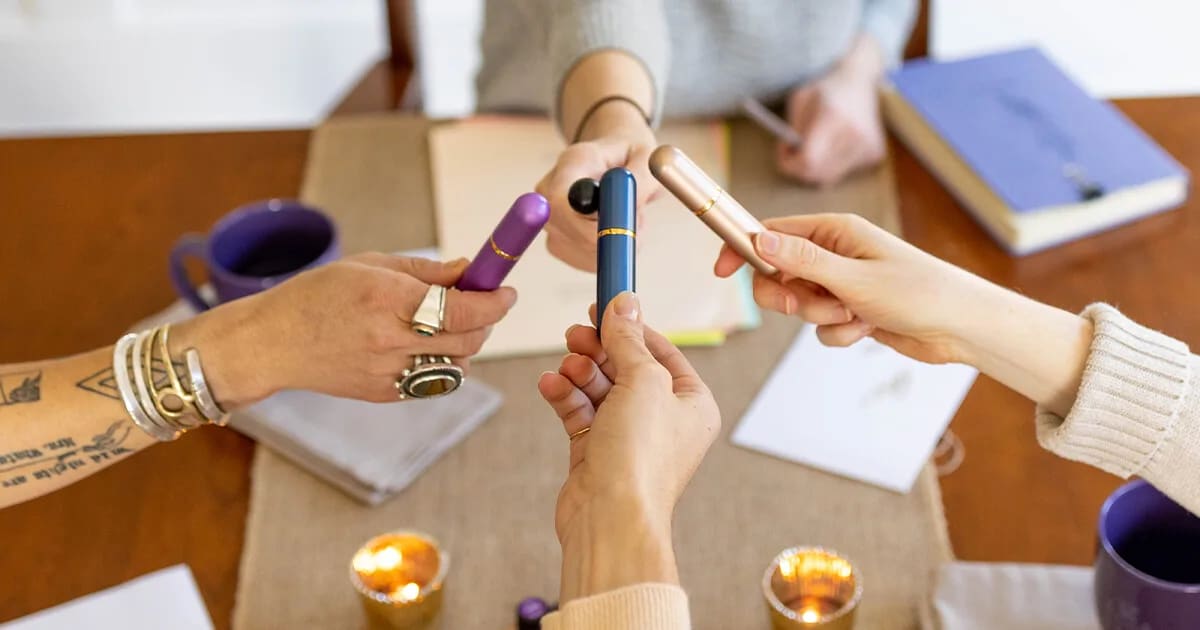
An inhaler is about the size and shape of a tube of lip balm or lipstick, so it tucks easily into a bag, pocket, or drawer.
Using an inhaler is also a great way to use essential oils around other people without making them uncomfortable. If you’re at work or in a public location (maybe on a plane, or in close quarters with others), diffusing oils or applying a topical blend might affect those around you. Some people are very sensitive to scents, have allergies to specific oils, or just don’t like certain aromas. That’s okay.
When you use an inhaler, nobody will smell the essential oils but you!
What Can You Use an Inhaler For?
The answer is . . . so many things!
That’s another great thing about inhalers. They’re wonderfully versatile.
Inhaling essential oils is one of the easiest ways to get them into your system quickly.
It’s an excellent way to bring about benefits like:
Stress relief
Relaxation & sleep
Feeling energized
Mental focus & clarity
Natural pain relief
Calming inflammation
Reducing allergy symptoms
Easing a headache
Supporting digestion
Boosting immunity
And more!
We’ll share some of our favorite inhaler recipes with you in a moment!
The Anatomy of an Inhaler
 Once you get the hang of making aromatherapy inhalers, you’ll want to make them for everything!
You can get disposable plastic inhalers in a variety of colors. Choose a different color for each inhaler you make, and be sure to label them clearly so they don’t get mixed up.
A plastic inhaler consists of several parts:
A cotton or polyester “wick” that absorbs the essential oils
A plastic sleeve that holds the wick
A cap that keeps the wick in place
A lid that closes the entire thing up
You can also get reusable inhalers. These are made of beautifully colored metal, and have a glass vial that holds the wick in place. When you’re finished using your inhaler (or after about two months—whichever comes first), you can toss out the wick, wash the glass vial, and refill it with a new blend.
How to Make an Aromatherapy Inhaler
If you already know you love the essential oil recipe you’re going to use, you can start by loading the wick into the inhaler sleeve (or vial if you have a reusable inhaler). We recommend about 15 drops of essential oil for an adult and 6 drops for a child.
Simply drop the essential oils onto the wick, and then snap the cap into place.
You’re done! (Yes—that’s really it!)
If you’re not sure whether you’ll like your essential oil recipe, start with a small glass or ceramic bowl. Build your essential oil blend in the bowl, adding each oil drop by drop. When you’re done and sure you love the aroma, drop the wick into the bowl. Use a pair of tweezers to move it around and absorb all of the essential oil, then load the wick into the sleeve and snap the cap.
Pro Tip:
Use the tweezers to put the soaked wick in the inhaler so you don’t get undiluted essential oil on your fingers.
Ta da! You’ve just made an inhaler!
To use it, simply open the cap, hold the inhaler to one side of your nose, and breathe in deeply. Then repeat on the other side.
Your inhaler is just for you. It’s not meant to be shared with anyone else, including family members. It should last about two months before it’s time to make a new one.
Our Favorite Inhaler Recipes
Ready to blend? Here are a few of our favorite aromatherapy inhaler recipes to get you started!


